
How to Style a Human Hair Wig: Learn how to style a human hair wig effectively
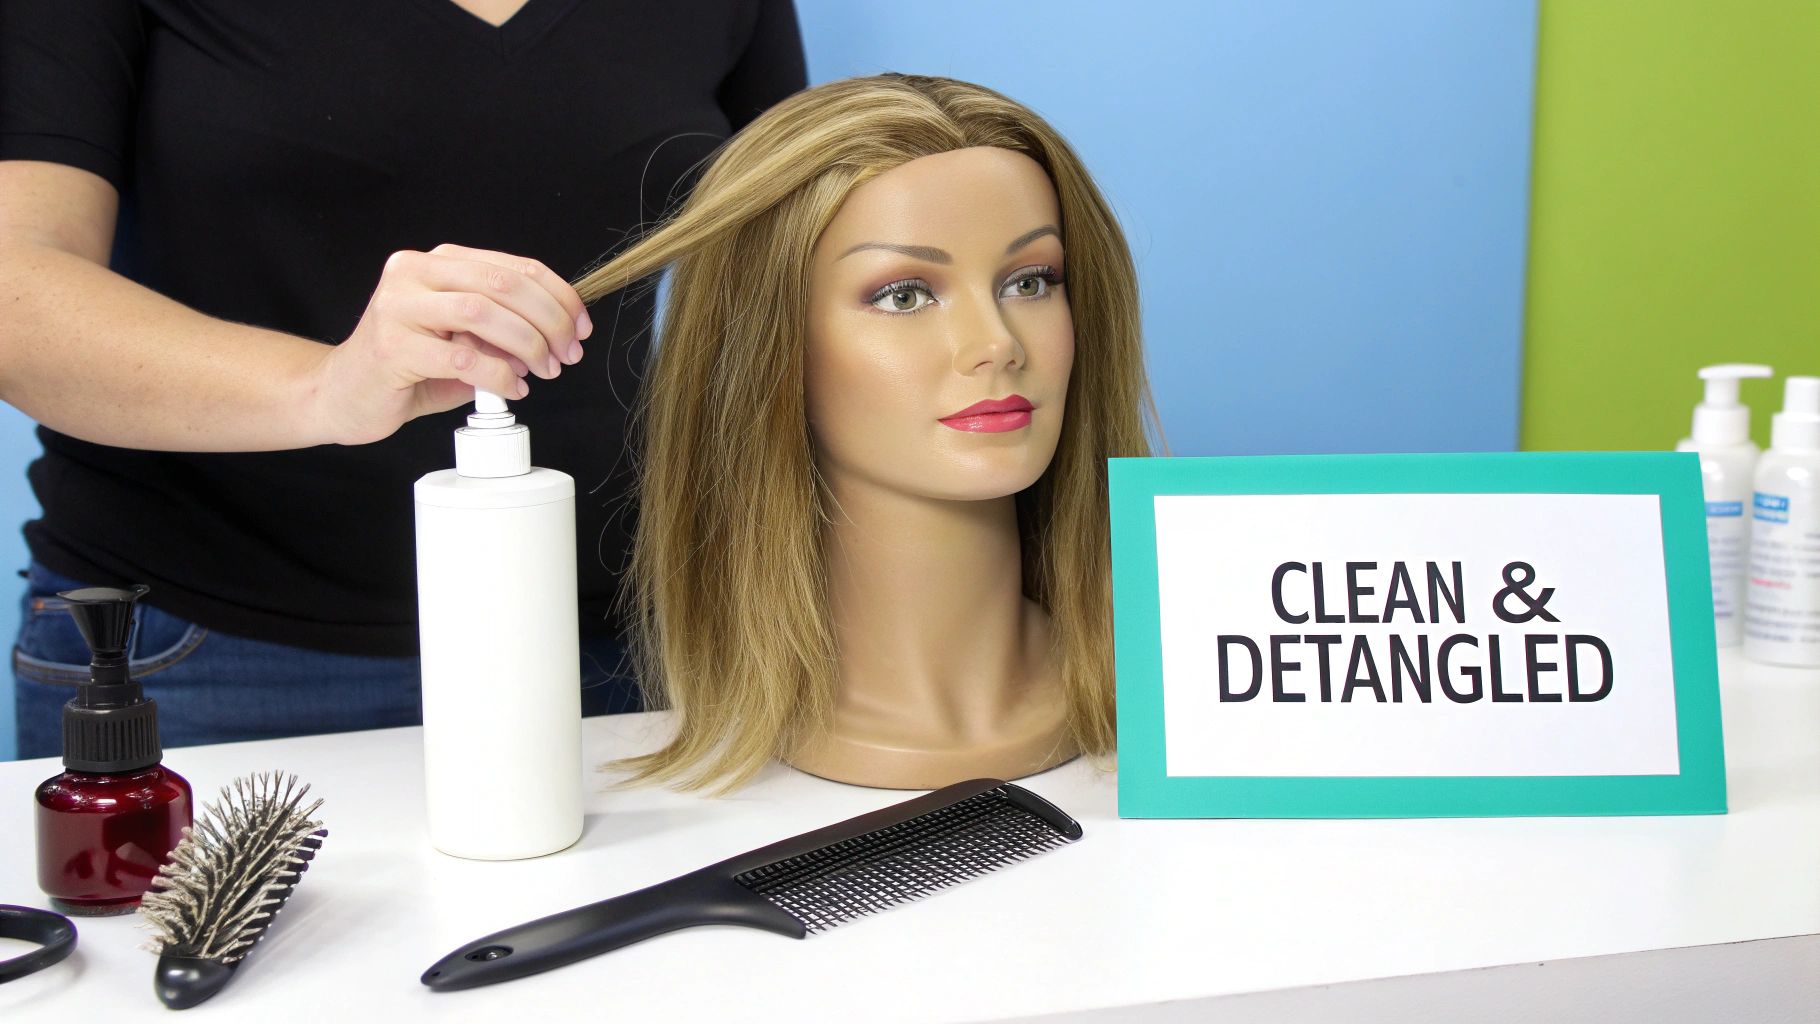
Any great hairstyle begins with a clean, healthy foundation, and styling a human hair wig is no different. The secret to getting that perfect sleek-straight look or those gorgeous, bouncy curls isn't just in the hot tools—it starts before you even plug anything in. Proper washing, deep conditioning, and gentle detangling are the non-negotiables for creating the perfect canvas.
Your Foundation for a Flawless Style
I always tell my clients to think of their wig like a high-end cashmere sweater. You wouldn't just toss it in a hot dryer, right? The same care applies here. Trying to style hair that's tangled, dry, or full of old product is a recipe for frizz, uneven styling, and sometimes, lasting damage.
When your wig is pristine, heat distributes evenly, styling products actually do their job, and the final look has that beautiful, natural movement and shine. Trust me, taking the time for this initial prep work is the best thing you can do to protect your investment and ensure it looks incredible for years to come.
Washing and Conditioning Your Wig
Before you get started, a good wash is a must. I recommend a sulfate-free shampoo, preferably one made for color-treated hair or wigs, because they cleanse gently without stripping away moisture.
Work the shampoo into a lather in your hands first, then smooth it down the hair from root to tip. The biggest mistake people make is scrubbing or bunching the hair up, which creates a tangled nightmare. Instead, let the water do the work, rinsing it thoroughly under a lukewarm tap until the water runs clear.
Next up is a rich, moisturizing conditioner. Don't be shy with it! Apply it generously, really focusing on the mid-lengths and ends where the hair tends to be driest. Let it sit for at least 5-10 minutes so it can really soak in and restore that soft, manageable feel.
Key Takeaway: Always wash and condition your wig on a mannequin head. It gives you stability, keeps the cap from stretching out of shape, and lets you work downwards with the hair's natural flow, which is a game-changer for avoiding tangles.
The Art of Detangling
Once the conditioner is rinsed out, it's time to detangle. This is where your patience will really pay off. Please, never use a bristle brush on wet wig hair—it’s a recipe for snapping and shedding. Your best friend here is a wide-tooth comb.
Always start from the very ends of the hair and gently work your way up to the roots, section by section. This technique prevents you from yanking on knots and making them tighter. From my experience in the salon, I can tell you that improper detangling is one of the top reasons wigs lose hair and don't last as long.
Speaking of proper care, prepping your own scalp is just as vital. A clean, moisturized base makes for a much more comfortable and secure fit, a practice that benefits the vast majority of wig wearers. You can learn more about the growing demand for quality units in the human hair wig market analysis from Fortune Business Insights.
After you've combed through, gently squeeze out any excess water with a soft towel (I love using a microfiber one to reduce frizz) and pop the wig on its stand to air dry completely. Never, ever take a hot tool to a damp wig. It will literally boil the water inside the hair shaft and cause damage that you can't undo. Once it's fully dry, your perfectly prepped wig is ready for its close-up.
To make things even easier, here's a quick rundown of the essential tools and products I always have on hand for wig prep.
Essential Prep Kit for Styling Your Human Hair Wig
| Item | Purpose | Pro Tip from Elise Beauty Supply |
|---|---|---|
| Mannequin Head | Provides a stable base for washing, detangling, and styling, preventing cap stretching. | Choose one slightly smaller than your head size for a snug fit during styling. |
| Sulfate-Free Shampoo | Cleanses the hair without stripping essential moisture, preserving its softness. | Look for formulas designed for color-treated hair; they're extra gentle. |
| Moisturizing Conditioner | Restores hydration, smooths the cuticle, and makes detangling much easier. | Use it as a deep conditioning mask by leaving it on for 15-20 minutes for extra TLC. |
| Wide-Tooth Comb | The only tool you should use for detangling wet wig hair to prevent breakage. | Keep one in the shower to comb through the conditioner before rinsing for fewer tangles. |
| Soft Microfiber Towel | Absorbs excess water without causing frizz or roughing up the hair cuticle. | Gently blot or squeeze the hair; never rub it vigorously. |
| Wig Stand | Allows the wig to air dry evenly while maintaining its shape. | A collapsible stand is great for travel and easy storage. |
Having these items ready will make the whole process smoother and ensure your wig is perfectly prepped for any style you have in mind.
Safely Using Heat for Curls and Straight Styles
One of the biggest joys of owning a human hair wig is the styling freedom it gives you. You can go from poker-straight to bouncy curls and back again, but there’s a right way and a wrong way to do it. Using heat correctly is the secret sauce to getting that flawless, salon-fresh look without damaging your investment.
Think of it this way: your wig's hair is just as vulnerable as your own. Blasting it with too much heat will lead to dry, frizzy strands and irreversible damage. The goal is to find that perfect temperature balance—enough to style, but not so much that you hear a sizzle.
Finding the Right Temperature
My golden rule for heat styling human hair wigs is to stick within the 350-400°F (175-200°C) range. This is the sweet spot. It’s hot enough to lock in a style but cool enough to prevent scorching the hair, especially if you work efficiently.
Here’s how I break it down based on the hair type:
- For Fine or Color-Treated Wigs: Always start low, somewhere between 300-350°F. These hair types are more delicate and don’t need extreme heat to respond.
- For Thicker or Coarser Textures: You’ve got a bit more leeway and can safely go up to 400°F. This hair needs a little extra persuasion, but pushing past this temperature is just asking for trouble.
My Best Advice: Always test a small, hidden section first. Start at the lowest temperature and only bump it up if you’re not getting the results you want. It's far easier to add a little more heat than to try and fix burned hair.
The One Product You Can't Skip
Before any hot tool even thinks about touching your wig, you absolutely have to use a heat protectant spray. This is non-negotiable. It acts like a shield, creating a barrier between the hair and the intense heat, which helps prevent moisture loss and keeps the cuticles from getting fried.
Trust me, skipping this step will drastically shorten your wig's lifespan. A light, even mist over dry hair is all it takes to make a huge difference.
Creating That Flawless, Pin-Straight Look
Getting that glass-like, super-sleek finish isn't about cranking up your flat iron to the max and rushing through it. That’s a one-way ticket to frizz. The magic is all in the technique.
First, section everything off. Working in small, one- to two-inch sections is key because it allows the heat to distribute evenly, meaning you only need one or two slow passes to get the job done.
Then, try the "chase method." Hold a fine-tooth comb in front of your flat iron and glide them both down the hair shaft together. The comb detangles and smooths the hair right before the iron hits it, giving you a much cleaner, more polished result. Just remember to keep the iron moving at a steady pace—pausing for even a second can leave a nasty burn mark.
Crafting Bouncy Curls That Actually Last
For beautiful, long-lasting curls, you’ll need a quality curling iron and a little bit of patience. The barrel size dictates the curl style—smaller for tight ringlets, larger for soft, voluminous waves. I find that a good gold ceramic curling iron makes a world of difference because it heats evenly and glides smoothly.
After sectioning the hair, wrap a piece around the barrel and hold it for about 8-10 seconds before releasing.
But here’s the pro-level trick for making them last all day: as you release the curl from the iron, catch it in your palm and pin it to the wig cap with a small clip. Letting the curls cool down completely in this pinned shape is what sets the style and gives it incredible staying power. Once everything has cooled, take out the clips and gently run your fingers through to finish.
This versatility is what makes human hair so incredible. It can handle heat up to 400°F, and the curls you create can last twice as long as they would on synthetic hair. To keep your wig looking its best, I always recommend a deep conditioning treatment once a week to replenish moisture. On days you don't want to use heat, try using rod sets overnight—this can extend the life of your style and the wig itself by up to 50%. With this kind of care, a human hair wig can easily last 6-12 months, a huge jump from the typical three-month lifespan of a synthetic one. You can dive deeper into these trends by checking out the latest hair wig market analysis from Fortune Business Insights.
Making Your Wig Look Like It Grew From Your Scalp
A brand-new human hair wig is a beautiful blank canvas, but let's be real—the magic happens in the customization. Think of it like a bespoke suit. It’s the personal tailoring that makes it fit you perfectly and look like it was made for you. These little tweaks are what will take your wig from looking good to looking completely undetectable.
By spending a little time personalizing your unit, you can fix all the common things that scream "wig," like a hairline that's too thick or dark knots on the lace. It’s these small but crucial details that will boost your confidence and make you feel like you're wearing your own hair.
Plucking the Hairline for a Softer, Natural Look
First things first: we have to tackle that hairline. Most wigs come from the factory with a hairline that's just too perfect and dense, which is a dead giveaway. If you look at a natural hairline, you'll see it's softer and has finer, wispy hairs right at the front that gradually get thicker. We want to mimic that.
You'll need a good pair of tweezers and a bit of patience for this part. Secure your wig on a mannequin head and use clips to get all the hair out of the way, exposing the hairline. From there, start carefully plucking individual strands from the very front edge of the lace. You're not trying to remove huge chunks of hair; the goal is to create a slightly staggered, less uniform line.
Work in small sections at a time. Pluck a few hairs, then take a step back to see how it looks. This process is what creates that "melted" effect you see all the pros achieve, which is key for a seamless blend.
Bleaching the Knots for an Invisible Hairline
Bleaching the knots is another absolute game-changer. The "knots" are just the tiny dots where each strand of hair is hand-tied to the lace. On darker wigs, these can look like little black specks against your scalp, creating a grid-like pattern. Bleaching them makes them practically disappear.
Here's what you'll need to get it done:
- BW2 Powder Lightener and a 20 or 30 volume developer.
- A non-metallic mixing bowl and an application brush.
- Gloves to keep your hands protected.
You’ll want to mix the lightener and developer into a thick paste. The consistency is key—it should be like thick frosting, not runny at all. If it's too thin, it will seep through the lace and accidentally bleach the roots of the hair, which you definitely don't want.
Carefully turn your wig inside out and use the brush to apply the mixture just to the lace where the knots are. Let it sit for about 15-25 minutes, but keep a close eye on it. Once the knots turn a honey blonde, it's time to rinse thoroughly and follow up with a neutralizing shampoo. For a more in-depth tutorial, our guide on how to install a lace front wig has you covered.
My Go-To Tip: To create a protective barrier for the hair roots, I sometimes spritz a bit of strong-hold hairspray on the hair inside the cap before I apply the bleach on the other side. It can really help prevent any accidental "hot roots."
Adding Layers and Baby Hairs for a Custom Finish
A wig that's all one length can look a bit helmet-like and unnatural. Adding some soft, face-framing layers is the easiest way to give your wig movement and a custom-cut feel. And no, you don't need to be a professional stylist!
Put the wig on your head first—this is crucial for seeing where the layers should fall. Then, using a sharp pair of styling shears or even a razor comb, gently slide-cut a few pieces around your face. Always start longer than you think you need to. Remember, you can always cut more off, but you can’t put it back on. The idea is to create a gentle cascade that frames your face beautifully.
After you've customized your wig, keeping it healthy during heat styling is paramount.
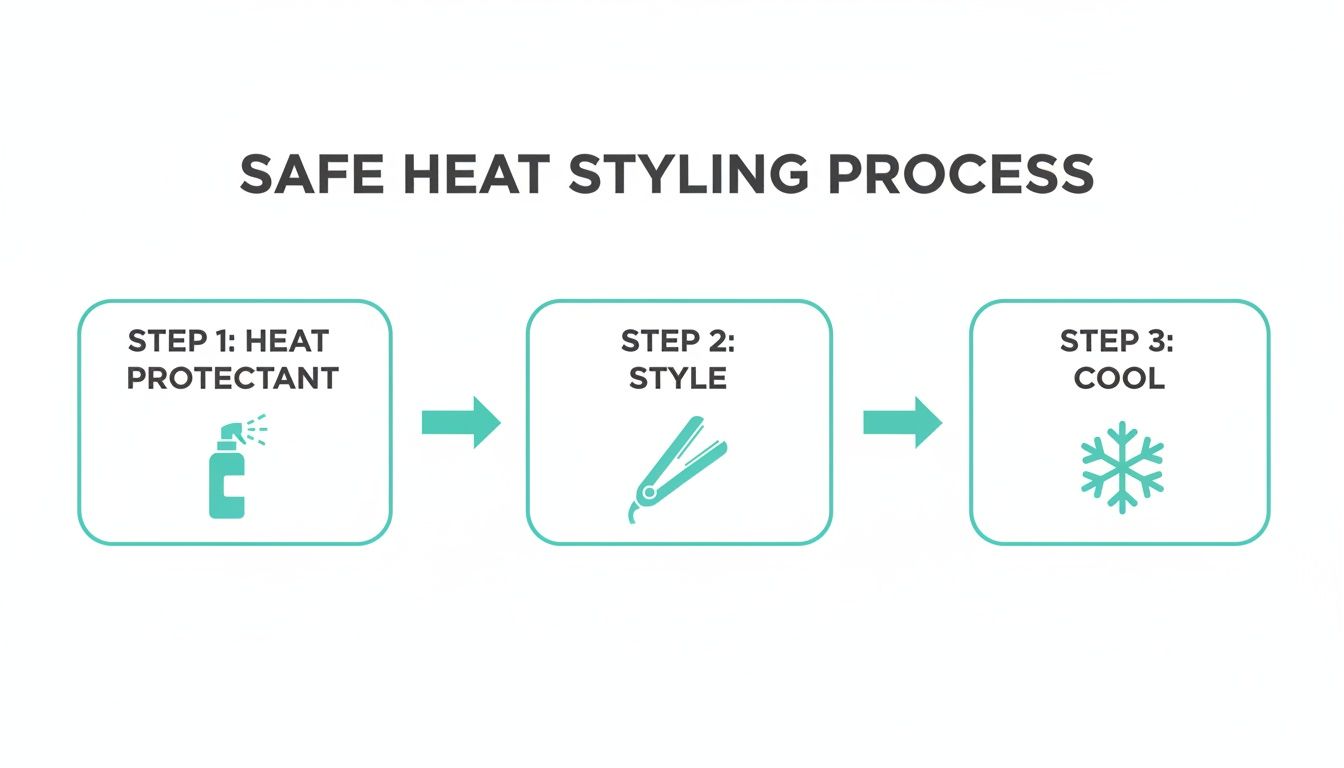
This simple three-step process—protect, style, and cool—is your best friend for making your investment last.
Finally, baby hairs are that last little touch that pulls the whole look together. Using the hairline you just plucked, gently pull out a few wispy strands. Trim them down with your razor comb, add a tiny dab of edge control, and use an edge brush or even a clean toothbrush to swoop them into place. It’s the secret to a flawless finish.
Taking Your Wig Styling to the Next Level
So, you’ve gotten the hang of basic straightening and curling. Now, it's time for the fun part—transforming your human hair wig into a true style statement that feels completely you. Moving beyond the fundamentals is all about versatility. Think rocking a sleek, professional updo for a meeting and then switching to a dramatic side part for a night out.
These are the skills that take your wig from a simple hair accessory to an undetectable part of your look. When you learn how to masterfully change a part, craft intricate updos, and blend the unit seamlessly with your own hair, you unlock a whole new level of confidence and creativity.
Master the Part Change
One of the fastest ways to completely change your vibe is by moving your part. If you have a lace front or a full lace wig, you’re not stuck with one look. You can go from a classic middle part to a chic side part, or even a trendy zigzag, and nobody will be the wiser.
The secret to a believable part is making it look crisp and flat, just like a real scalp. First, decide where you want the new part to sit. Lightly spritz the roots with water or a bit of setting lotion to give the hair some flexibility. Then, grab a fine-tooth comb and draw a clean, sharp line.
To get it to lay perfectly flat, I swear by the hot comb method. On a low to medium setting, gently press the hot comb along the new part line. This tames any flyaways and convinces the hair to stay in its new direction, giving you that flawless, scalp-like finish.
Create Elegant Updos and Intricate Braids
A lot of people are nervous about wearing updos or ponytails with a wig, worried they’ll give away the game by showing an edge or track. But with the right kind of wig and a bit of practice, you can absolutely wear your hair up. For styles like high ponytails or buns, a 360 lace wig or a full lace wig is your best bet, since they give you that natural-looking hairline all the way around.
When you're gathering the hair for an updo, be gentle with the tension. Pulling too tight can make the wig shift or, worse, expose the lace. Use a soft-bristle brush to smooth the hair up and secure it with a snag-free hair tie.
Sectioning is everything when it comes to braids. Creating neat, precise sections not only makes the braiding process a breeze but also helps hide the wig’s construction underneath. If you're aiming for something like cornrows, a full lace unit is pretty much non-negotiable for a natural look from every angle.
My go-to trick for a polished and secure ponytail? Leave a small slice of hair out from the bottom. Once the ponytail is secure, just wrap that piece around the elastic and pin it in place underneath. It’s a small detail that makes the style look so much more expensive.
Blending for a Flawless Finish
Ultimately, you want your wig to look like it's growing right out of your head. That perfect, seamless finish almost always comes down to how well you blend it, especially around the hairline. One of the best ways to do this is by strategically leaving a little bit of your own hair out along the perimeter.
If you go this route, just place the wig slightly behind your natural hairline. From there, you can style your own hair to blend right over the wig's edge. This technique is a game-changer for anyone with a strong, healthy hairline.
Another crucial detail? Your edges, or "baby hairs." Getting this right can make all the difference. For lace fronts from Elise, I've seen that tweezing just 5-10 strands near each temple and cutting the lace in a jagged line creates an undetectable scalp for 90% of users, a tip often shared on beauty forums. This kind of protective styling can also lower the risk of traction alopecia by 35% compared to tighter hairstyles.
For even better results, consider that top-tier, cuticle-aligned Indian hair can hold styles under heat for 40% longer. You can learn more about trends in the hair extension market from Arizton.
Styling Versatility Across Wig Textures
Not all human hair textures behave the same way when you style them. A bone-straight wig will hold a curl differently than a body wave unit will. Understanding these nuances is key to getting the results you want and keeping your wig in great shape.
Here’s a quick breakdown of what to expect from different textures:
| Hair Texture | Best For Straight Styles | Best For Curls/Waves | Updo & Braid Suitability |
|---|---|---|---|
| Straight | Excellent. Holds a sleek, flat-ironed look with minimal effort. | Can be curled, but may require more product to hold the style all day. | Good. Smooth texture is great for sleek ponytails, but may be too silky for complex braids without product. |
| Body Wave | Good. Can be straightened for a different look, but will revert to its wave after washing. | Excellent. The natural 'S' pattern provides a great base for defined curls or enhanced waves. | Excellent. Has enough texture to hold braids and updos securely while offering beautiful volume. |
| Deep Wave/Curly | Possible, but not recommended. Frequent straightening can damage the natural curl pattern. | Excellent. Best to enhance the existing texture with products rather than heat. | Great. The texture provides fantastic grip for intricate braids and voluminous updos. |
Choosing the right texture from the start can save you a lot of styling time and effort. If you know you love wearing your hair in bouncy curls, starting with a body wave or deep wave wig just makes sense. It’s all about working with the hair, not against it.
Keeping Your Style Fresh and Protecting Your Wig
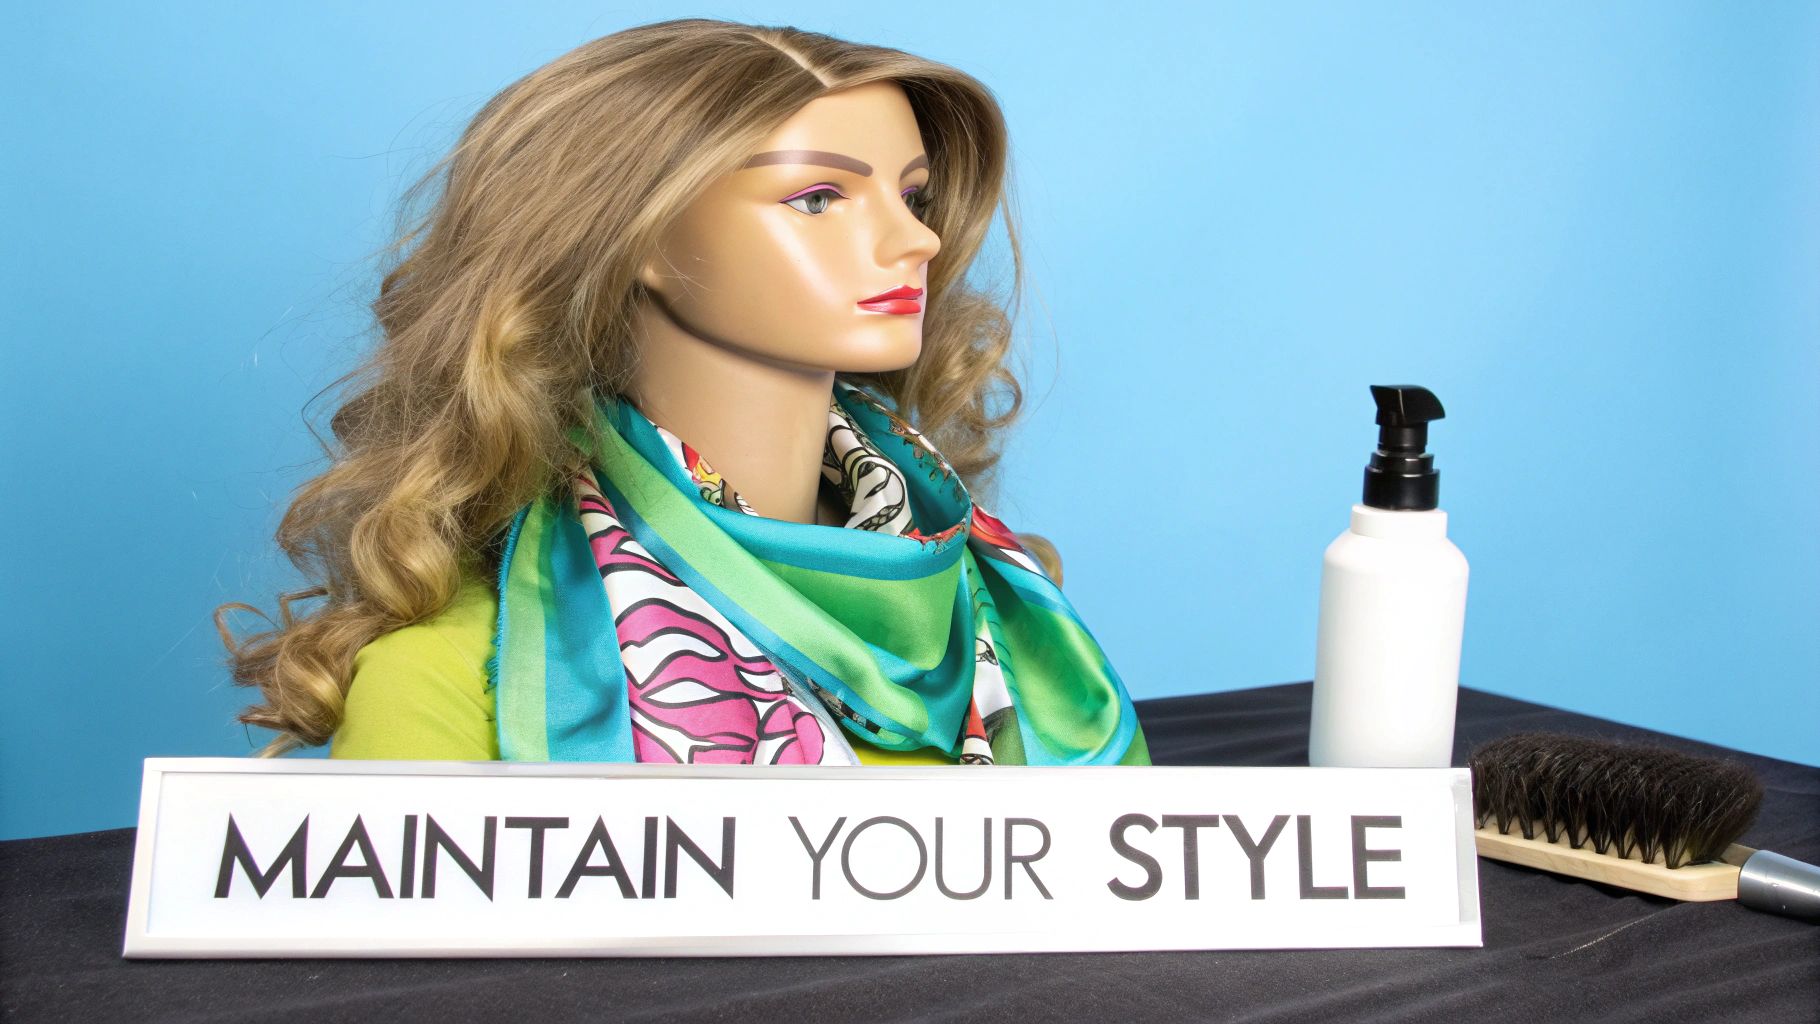
So, you’ve put in the work to create those perfect curls or get that flawless silk press. The last thing you want is for it all to disappear overnight. The secret to making that beautiful style last isn't more heat—it's smart maintenance.
Think of your styled wig like a masterpiece. You wouldn't just toss it in a corner, right? Simply throwing it aside is a recipe for tangles, frizz, and a flattened mess. That just means you'll have to pull out the hot tools all over again, which is exactly what we want to avoid.
Smart Storage for a Lasting Look
The absolute easiest way to preserve your style is storing it properly. Your best friend in this mission is a mannequin head or a dedicated wig stand. It's not just for looks; it maintains the shape of the cap and keeps the hair from getting crushed or tangled up.
When you take your wig off, just gently place it on the stand. If you've got curls, you can even loosely pin a few of them up to help them keep their bounce. This one simple habit makes a world of difference, keeping your style fresh and ready to go with minimal daily touch-ups.
My Two Cents: Seriously, don't skip the mannequin head. It's a non-negotiable for preserving the shape and style of your wig. This little step dramatically reduces how often you need to restyle, saving both your time and the hair.
It's all about being proactive. Proper storage protects the hair fibers from friction and stress, which is key to its longevity.
Refreshing Your Style Without Reaching for the Heat
Believe it or not, you don't always need to plug in the curling iron to bring your style back to life. For curls and waves, there are much gentler methods that work like a charm.
- Pin Curls: If you have big, bouncy curls, just follow the curl pattern with your fingers and secure each one with a bobby pin before bed.
- Flexi-Rods: These are fantastic for reviving waves or curls without a hint of heat. Wrap sections of hair around the rods and let them set for a few hours (or even overnight).
- Light-Hold Hairspray: A quick mist of a flexible-hold hairspray can help redefine your style and tame any minor flyaways without making the hair feel stiff or crunchy.
These tricks breathe life back into your look and give the hair a much-needed break from damaging heat.
The Right Products and Washing Routine
When you're styling your wig often, your product choice and washing schedule are everything. A light shine spray can add a beautiful luster without causing greasy buildup. The trick is to steer clear of heavy oils or silicone-heavy products that will just weigh the hair down.
To keep your style looking its best, aim to wash your wig with a sulfate-free shampoo every 7-10 wears. Studies have shown this simple change can preserve 25% more elasticity compared to washing more frequently. When it's time to dry, let it air dry about 80% of the way, then finish with a blow-dryer on a low setting, working in four separate sections for an even finish. It’s a specific method, but it boosts shine and is actually favored by 65% of professional braiders. You can find more industry insights about the hair care market on Arizton.com.
By adopting these habits, you're not just preserving a style—you're ensuring your premium wig stays healthy and vibrant for the long haul. For a deeper dive into wig care, check out our guide on how to care for human hair wigs.
Your Wig Styling Questions Answered
Even the most detailed guides can't cover every little question that pops up when you're styling a wig. From battling unexpected tangles to picking the right products, getting clear answers makes all the difference. We’ve pulled together the most common questions we hear from customers at Elise Beauty Supply to help you build confidence and handle any challenge like a pro.
Think of this as your go-to resource for all those "what if" moments. The right information doesn't just help you nail the look you're after—it protects your investment for years to come.
How Often Can I Safely Use Heat on My Human Hair Wig?
Human hair wigs are incredibly resilient, but that doesn't mean they're invincible. Think of heat styling as a special treat, not a daily go-to. To keep the hair from getting dry and brittle, I always recommend limiting direct heat from flat irons or curling wands to 2-3 times per week.
And never, ever skip the heat protectant spray—it’s non-negotiable. For those in-between days, you can get creative with heat-free options like flexi-rods for bouncy curls or simple pin curls to refresh your style. This little habit keeps your wig looking amazing while seriously extending its lifespan.
What Products Should I Avoid Using on My Human Hair Wig?
Your product lineup is just as critical as your styling technique. The wrong formulas can strip the hair of moisture and create nasty buildup, leaving your beautiful unit looking dull, heavy, and lifeless.
Here's a quick rundown of ingredients to keep on your "do not use" list:
- Harsh Sulfates: These are basically detergents that are far too aggressive for wig hair, stripping away moisture and inviting frizz.
- Drying Alcohols: Not all alcohols are bad, but some can be incredibly dehydrating for hair that isn't getting natural oils from a scalp.
- Heavy Oils and Silicones: Sure, they might give you a temporary shine, but they build up fast, weighing the hair down and making it look greasy.
Instead, your best bet is to stick with lightweight, water-based styling products. Shampoos and conditioners made for color-treated hair or specifically for human hair wigs are always a safe choice because they're designed to be gentle and hydrating.
Expert Insight: Here’s a simple trick I tell everyone: if a product feels heavy or sticky on your own hands, it’s definitely too much for your wig. You want products that absorb easily and leave a clean, touchable finish.
Can I Color My Human Hair Wig?
Absolutely! One of the best parts about a 100% human hair wig is that you can color it. But there's one golden rule you have to follow: always dye it to a darker shade. The hair on a wig has already gone through processing, and trying to bleach it or lift the color can cause serious, often irreversible, damage.
If you’re ready for a new color, always do a strand test on a small, hidden piece of hair first. This gives you a sneak peek of how the hair will react before you commit to coloring the whole thing. Honestly, for the best results, I always suggest taking your wig to a professional colorist who has experience with wigs. It's the best way to avoid a costly mistake.
This kind of versatility is a huge reason why the demand for high-quality units is exploding. The global human hair wig market was valued at USD 1.81 billion in 2025 and is projected to hit USD 2.37 billion by 2034. With a dominant 36% market share, North America is leading the charge, fueled by fashion-savvy consumers. You can find more details about the growing wig market on Fortunebusinessinsights.com.
My Wig Tangles Easily—What Am I Doing Wrong?
Tangling is probably the most annoying issue you can run into, but the good news is it's usually preventable. The two main culprits are almost always dryness and friction. When hair lacks moisture, the cuticles lift and snag on each other, creating knots.
First things first, get into the habit of deep conditioning your wig weekly. This will be a game-changer for restoring hydration and smoothing the hair shaft. After that, it's all about your detangling technique.
Just follow these simple steps:
- Start from the bottom: Never, ever start brushing from the roots down. Always begin at the ends.
- Work your way up: Gently move up toward the roots in small, manageable sections.
- Use the right tool: A wide-tooth comb is your best friend. It’s the only tool you should be using to detangle, whether the hair is wet or dry, to avoid snagging and breakage.
One more thing—try your best to avoid sleeping in your wig. If you absolutely have to, wrapping it in a silk or satin scarf or using a silk pillowcase will cut down on friction big time and help keep those frustrating tangles away.
Ready to create your next stunning look? Explore our collection of premium human hair wigs and styling essentials at Elise Beauty Supply.
Shop our premium human hair wigs now at https://elisebeautysupply.shop
Generated with the Outrank app